Table of Contents
1. Tin Can Craft DIY |How to make vase in 1 minute
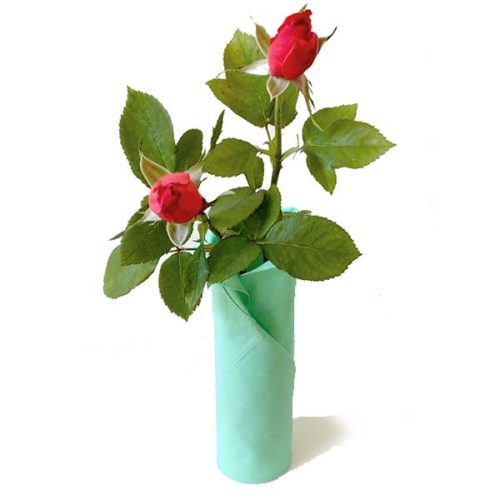
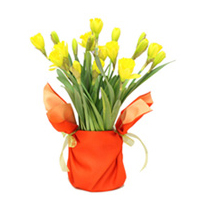
Here is how to make vase using tin can and fabric. Wrap a can in square of fabric and make a flower can in a minute. A small card or tag can be tucked into the folds of the fabric.
One-minute DIY Tin Can Craft
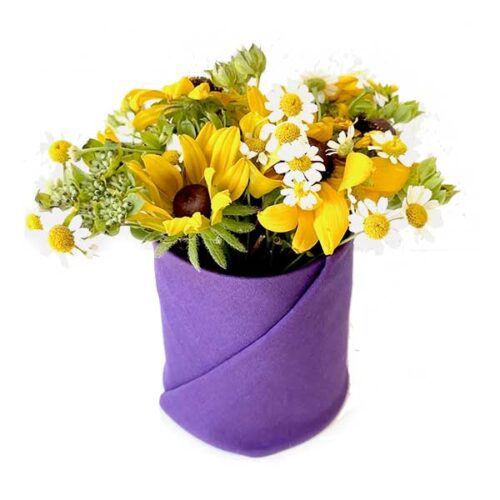
How do you make tin can decorations?
Making a vase using a tin can and fabric
Total Time: 1 minute
Step 1
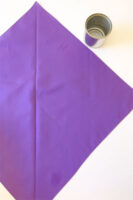
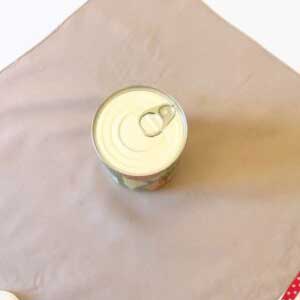
Spread a square of cloth flat.
Step 2
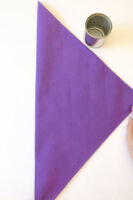
Fold it in half diagonally.
Step 3
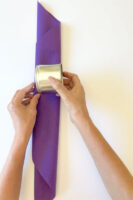
Adjust the width of the cloth by folding it into thirds or quarters so that it is slightly higher than the height of the can. Finger press the folded line to maake a crease.
Step 4
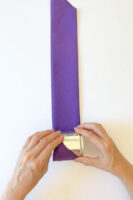
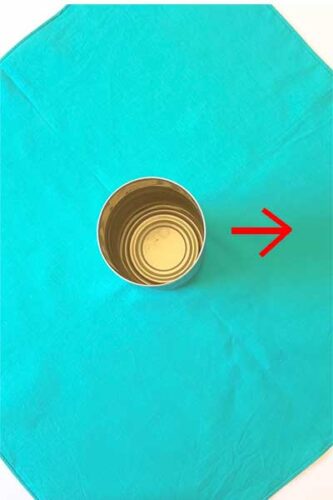
Place the can so that the bottom of the can faces the right side of the cloth, roll the can and wrap it in the cloth.
Step 5
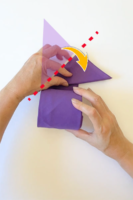
Fold the end of the cloth along the red dotted line in the image.
Step 6
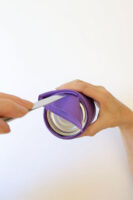
Push the tip of the cloth into the gap between the bottom of the can and the cloth, while moving the knife up and down little by little.
Step 7
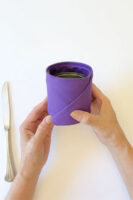
The vase is ready to use.
Since no glue is used, the wrapping can be unwrapped and reused for another purpose. Have fun origami-style wrapping.
Tools:
- Buttter knife or Dinner knife
Materials: Square cloth such as napkin
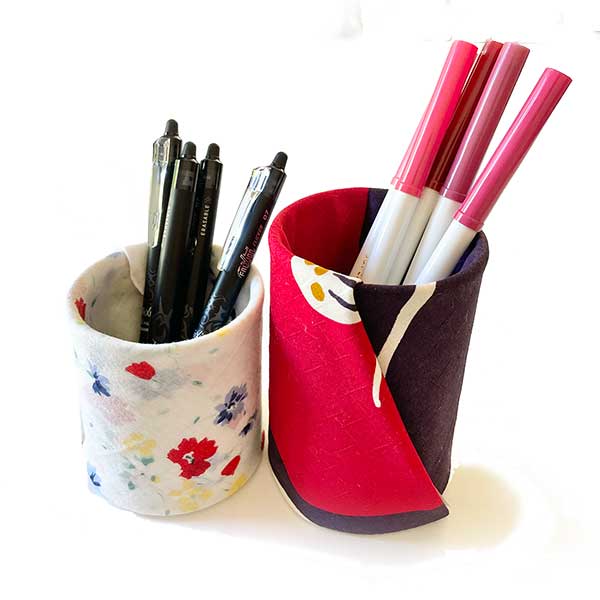
2. Easy Can craft – Pen holder
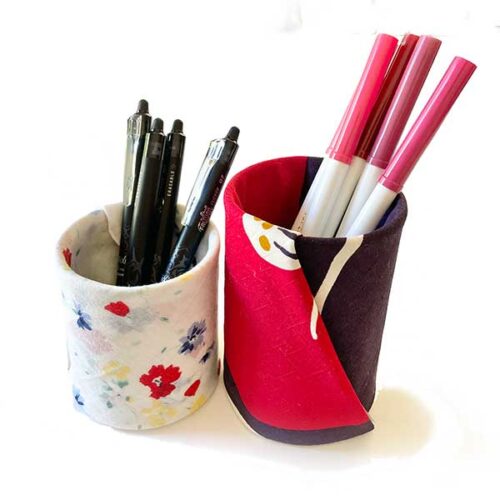
These pen holders are similar to the above vase except for step 3. Instead, Simply tuck the cloth that protrudes over the top of the can inside the can. This way you can cover the edges of the can. Use any fabric you like, such as a handkerchief and napkin
The good thing of this design is that the cloth can be flexible to the size of the can, from small to large.
Since no glue is used and no sewing is involved, it is easy to wrap and unwrap, and the best part is that you can change the cloth according to the season or occasion.
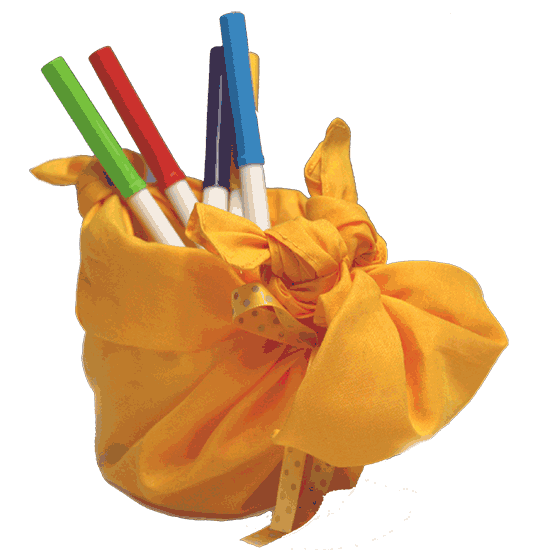
3. Variations of Tin can craft – Hippo Pen Holder
This hippopotamus pen holder is made out of tin can and cotton napkin.
How to make Hippo Pen Holder out of tin can and napkin
Materials:
- Tin can (14.75 oz in photo)
- Square of fabric (17″ x 17″ in photo)
- Ribbon
(The ribbon is not only for decoration, but also to hold the hippo’s face in place.) - Googly eyes stickers (optional)
- Rhinestone stickers (optional)
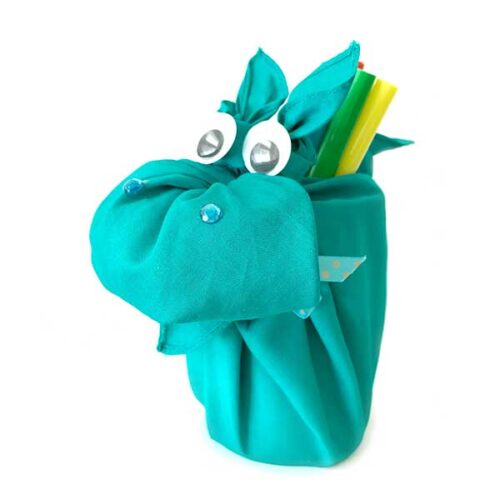
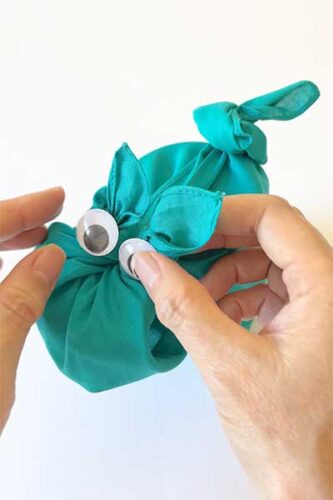
Making hippo pen holder using tin can and cloth. (Googly eyes stickers for eyes and rhinestone stickers for nose holes)
Step 1
Spread out the cloth and place the can a few inches from the center.
Step 2
Leave a corner close to the can, grab three corners and tie them together with an elastic band.
Step 3
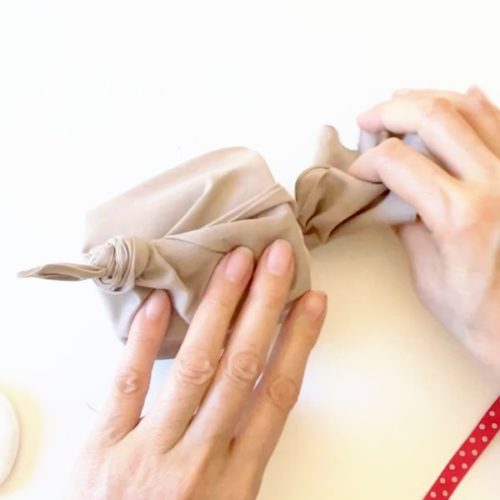
Take the remaining corner, twist and tie into a knot.
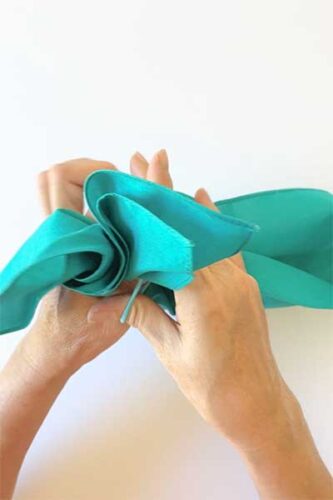
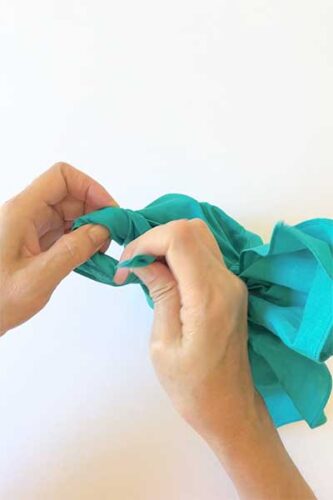
Step 4
Bring all three corners to the front, leaving one long corner, take one corner and…
Step 5
Tie a tight knot at the bottom and spread the tip to make an ear.
Step 6
Bring the tail to the front and take the other corner, and make a knot.
(This way, both ears will face outward).
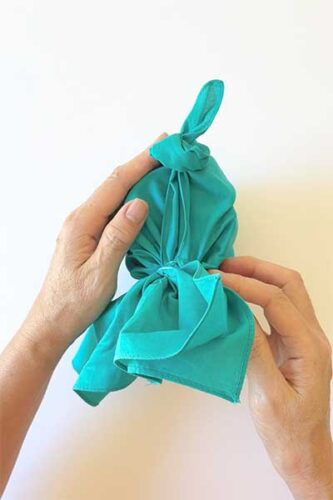
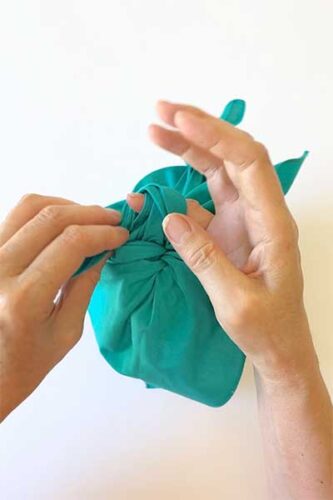
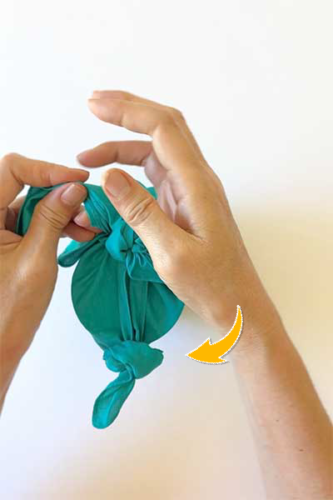
Step 7
Take the remaining corner and tuck the tip into th elastic.
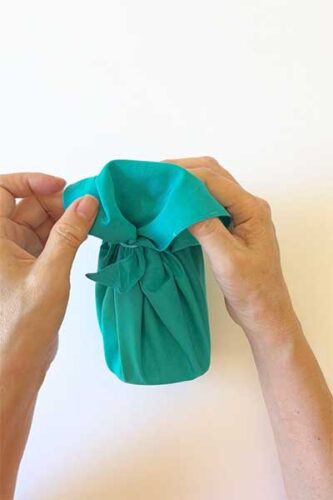
Step 8
Spreaad it out to form a round face.
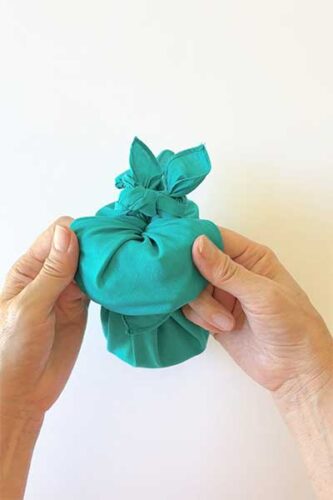
Step 9
Tie a ribbon around the neck.
(Optional)
Aattach the nose and eyes.
More DIY Tin wrapping
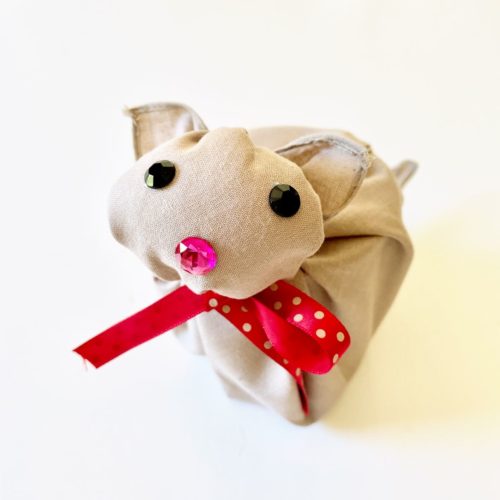
This cat craft wrapping is made of small tin can and fabric. The cat’s face is a little heavier than the hippo above because of the cotton inside, so a small shallow tin can is more stable than a taller one.
For the instruction. click here.
This hippopotamus penholder is made from a box-shaped cup and cotton.
(Round cans as well as box-shaped containers are suitable for forming the body of a hippo.)
Thinner and softer fabrics make it easier to form hippopotamus eyes and ears
(For more Hippo and animals, click here.)
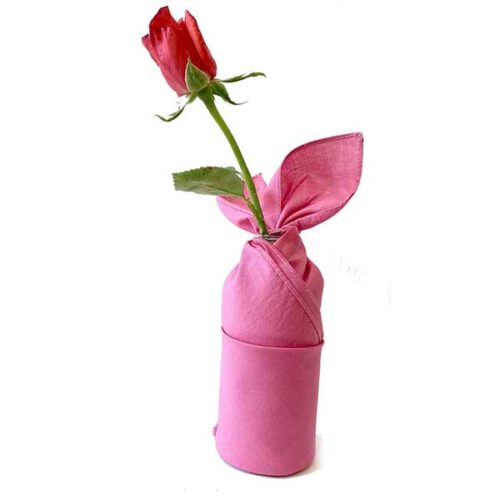
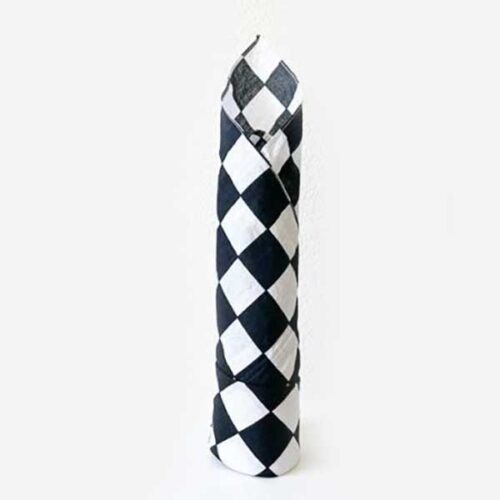
Making flower vases using plastic bottles
Tin cans are thicker and the cloth does not easily move when attached, whereas plastic bottles are long and thin and the cloth tends to move easily, so different steps are needed in making “flower vases”.
References: More Recycled tin can craft ideas
- Tin can craft -Wind chime
- Tin can craft using papers
- Tin can craft planters
- Tin can craft for kids-Owl
- Tin can craft for kids -Frankenstein
- Tin can craft using lids
- Tin can crafts for christmas
- Soda can crafts
- Tin can craft hanging planter
- Tin can craft with kids, bird feeder
- Tin can decorations
- Smashed tin can craft
- Soda can planters

