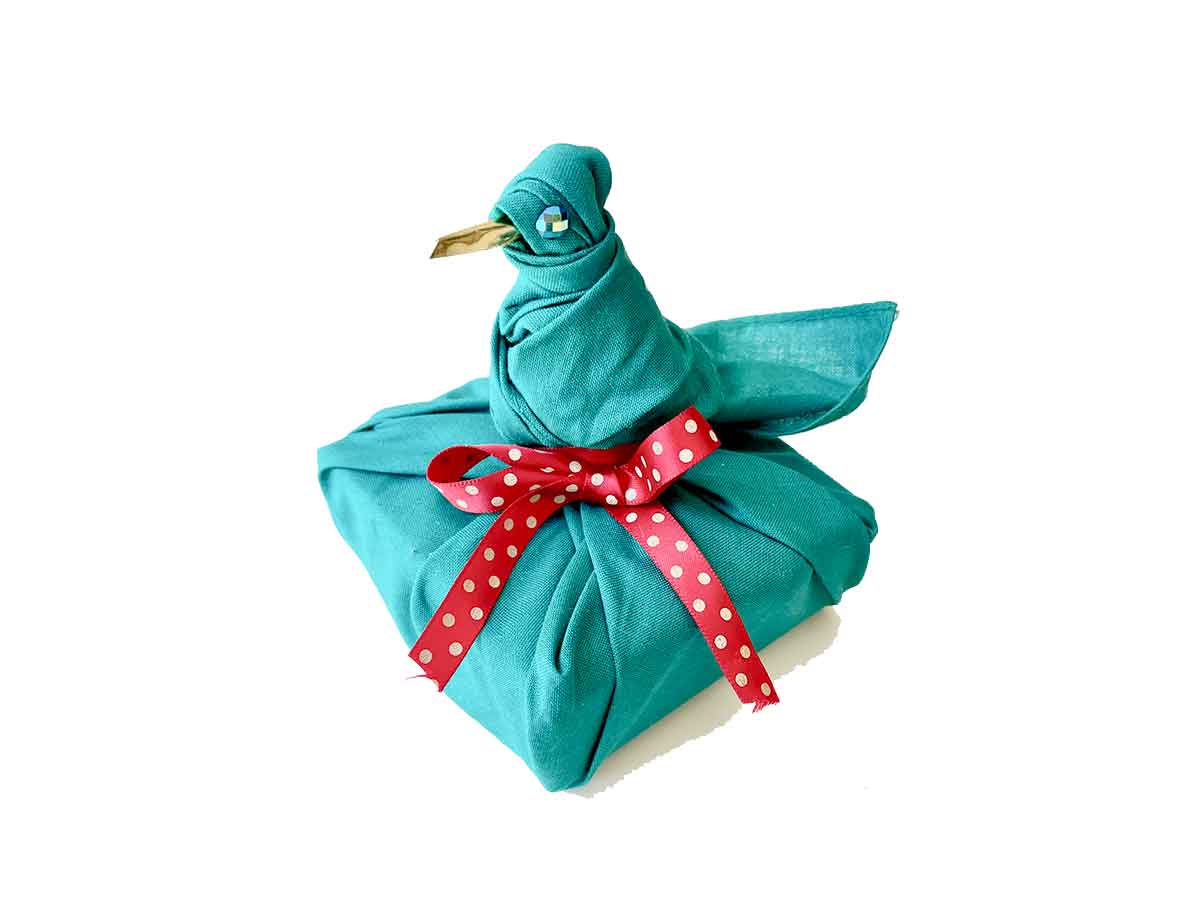
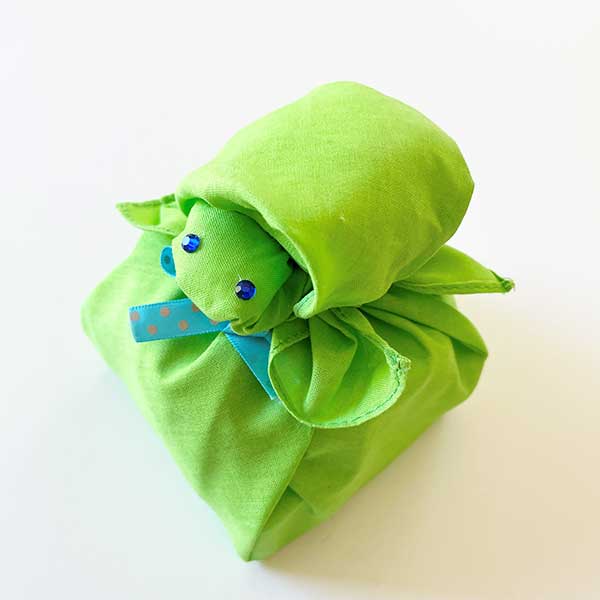
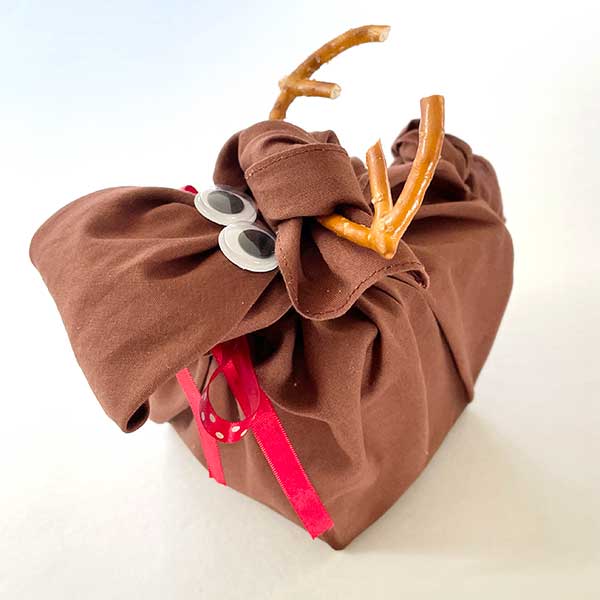
DIY Bird Craft -how to wrap a small gift in fabric and create a bird on it. No cutting or sewing.
DIY Bird Craft with Fabric
How to make bird craft while wrapping gift in cloth
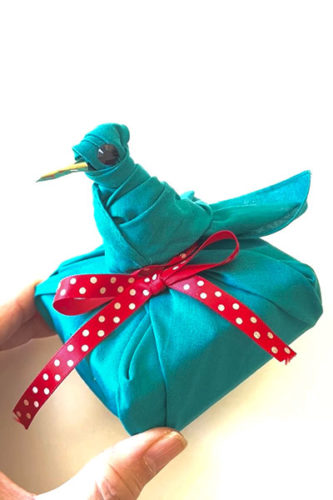
How to make bird craft gift wrapping with fabric
Total Time: 10 minutes
Step 1
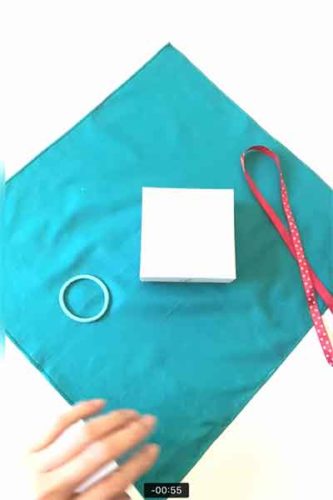
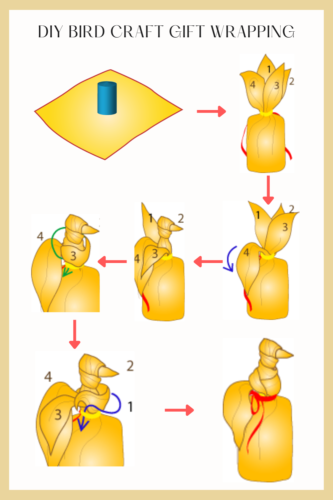
Spread out a square of cloth and place a gift in one corner of it, about 1 inch from the center.
Step 2
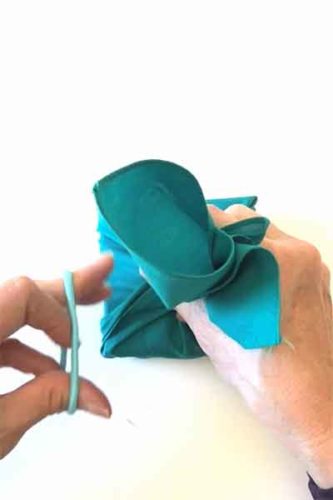
Grasp all four corners and tie them together with elastic.
Step 3
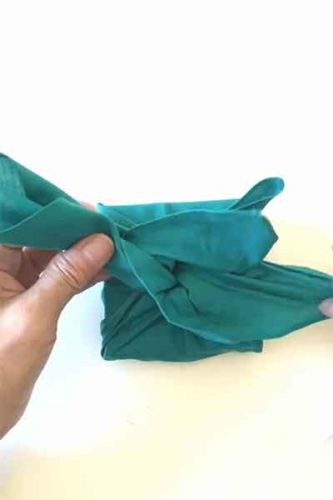
Pull up all four corners.
Step 4
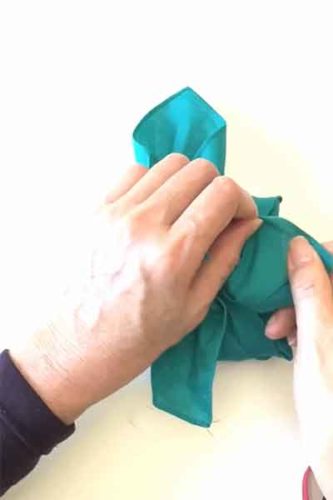
Take the shortest corner and spread it out. (This will be the tail.)
Step 5
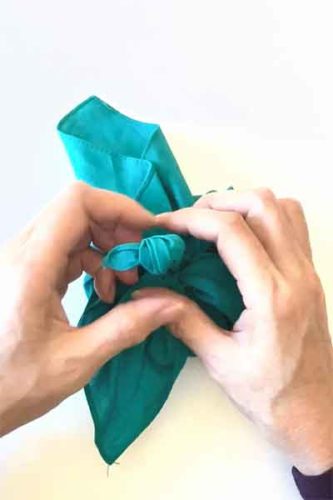
Take the longest corner and pull up.
Tie a knot to make a head with the beak at a 90 degree angle to the neck.
Pull up the top for the comb and pull the bottom to tighten the knot.
Step 6
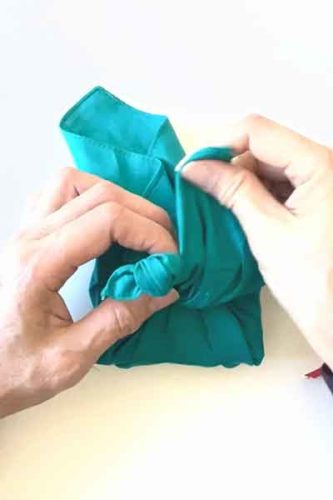
Wrap one of the remain corner (shorter one) around the neck while pulling and twisting a few times and tuck the tip into the elastic.
Step 7
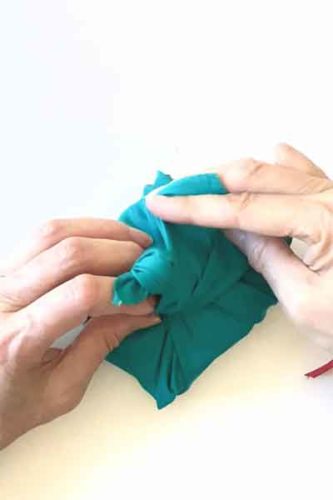
Wrap one of the remaining corners (the shorter one) around the neck and twist while pulling. (Tighten near the head and wrap while loosening at the bottom, so that the abdomen forms a corn shape.)
Step 8
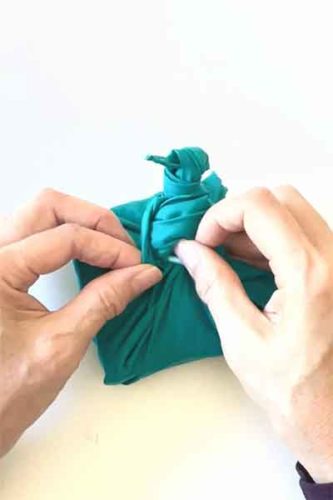
Tuck the end of the corner into the elastic.
Step 9
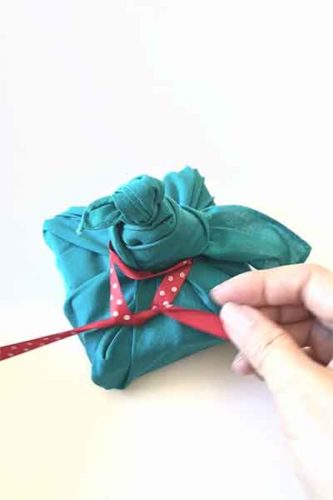
Tie ribbon around the bottom of body tightly.
Step 10
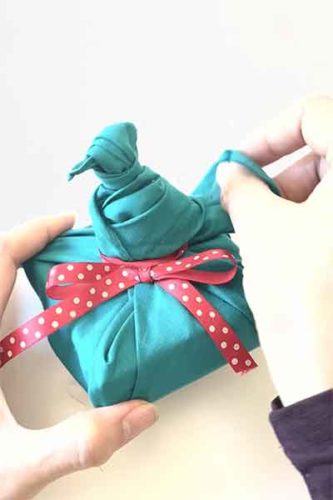
Spread the tail and turn it upward.
Step 11
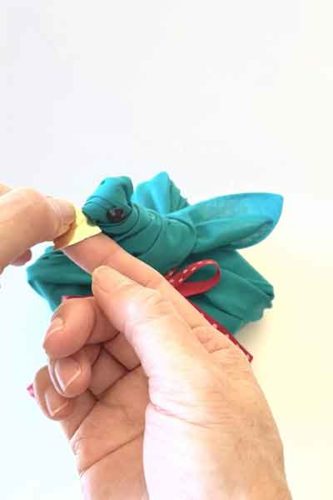
(Optional)
Put eye stickers on the face.
Cut a triangle of yellow (gold) sticker, fold it in thirds, and wrap them around the beak.
Step 12

Your gift wrapping with a little bird on top is complete.. Happy fabric gift wrapping!
Estimated Cost: 1 USD
Supply:
- N/A
Tools:
- N/A
Materials: -A square piece of fabric (14″ x 14″) -A hair elastic -A ribbon -Optional -Black stickers for eyes (rhinestone stickers, etc.) -Optional -Yellow sticker for beak, cut into triangle
Click here to see a short video of book wrapping with a little bird on it. This is a simple version of the bird above.
Variations of Bird Craft Wrapping-Bird with long tail
The bird craft wrapping above is for a small gift, and this bird is a little larger with a long tail, a 4″ x 4″ gift wrapped in 17″ x 17″ fabric. Leaving the tail in place, without sticking it out or folding it, produces a bird with a long tail.
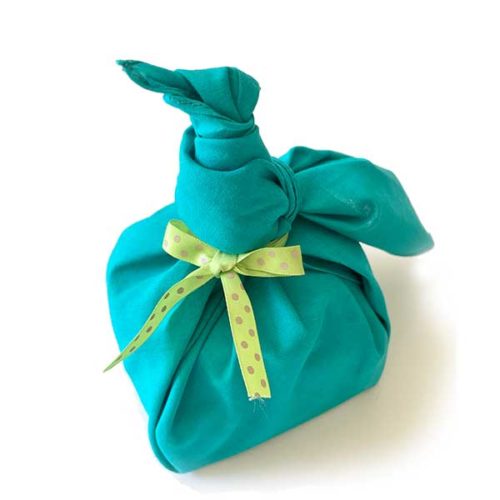
How to make a bird nest using fabric
Wrap the top bird in brownish cloth to make an easy bird’s nest. Tie all corners of the bottom of the bird with elastic and tuck the tip under the elastic.
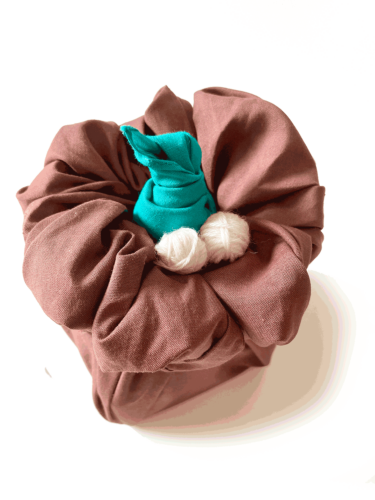
The image shows a bird craft wrapped in a white linen napkin using the same method as above. The bird’s tail can be adjusted depending on the size of the gift and the fabric. If the gift is small in relation to the cloth, place the gift in the center of the cloth to create a bird with a long tail.

Crane Craft Wrapping
Another way of bird craft gift wrapping- “Origami-style crane”
Crisp cotton cloth is easy to make pointy shape. 17″ x 17″ cotton is used in the crane in the image.
What is different from the bird craft above is the wings.
1. The two corners that used to wrap the body are used for the wings instead.
2. The longer corner is looped around the body to make a body and the ends are tucked into the elastic.
3. The end then become the tail.

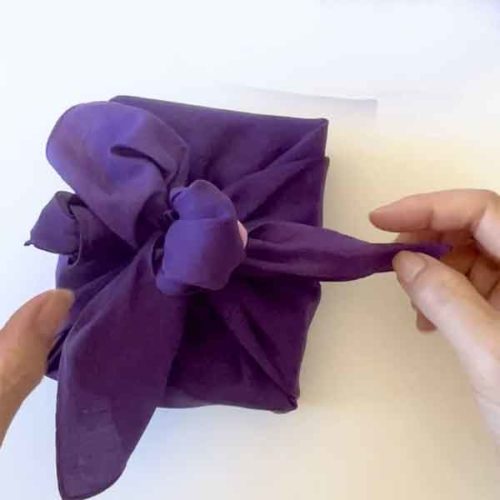
Other Gift wrapping design for a small gift
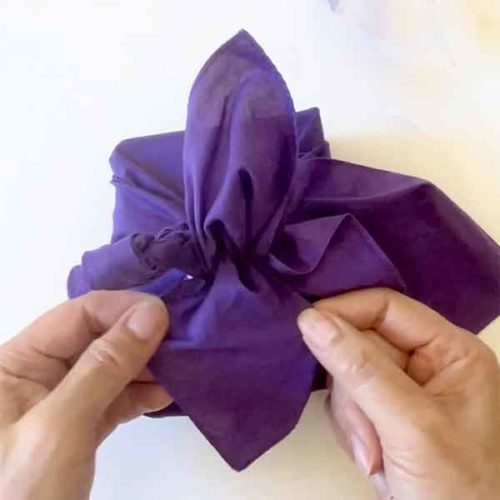
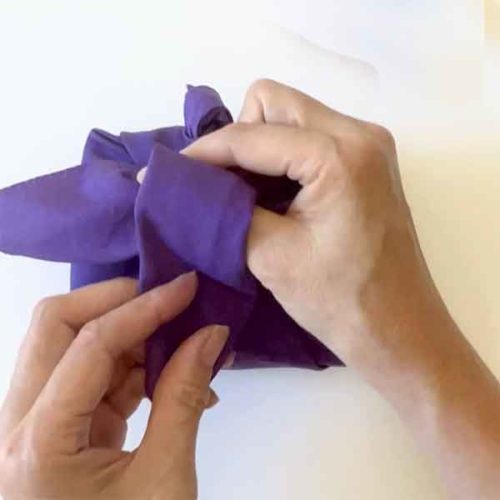
TThis simple wrapping design is another way to wrap a small gift. (The gift box and fabric are the same size as the little blue bird wrapping above.)
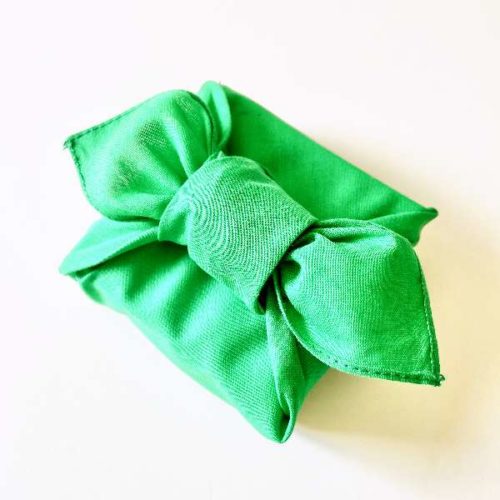
Other Gift Wrapping
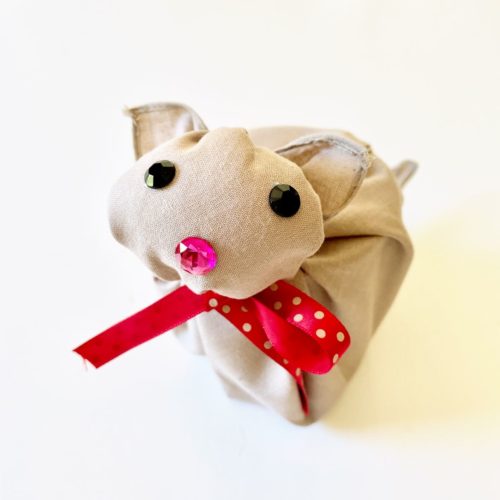
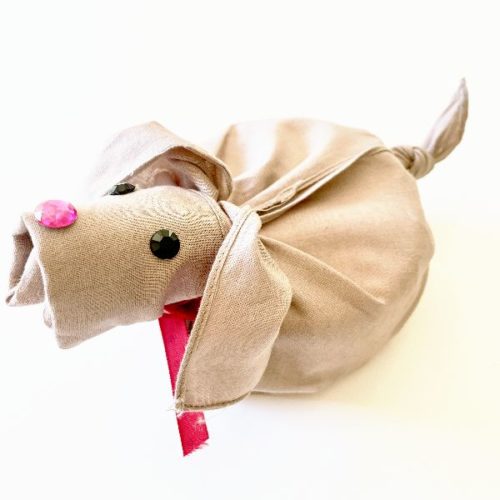
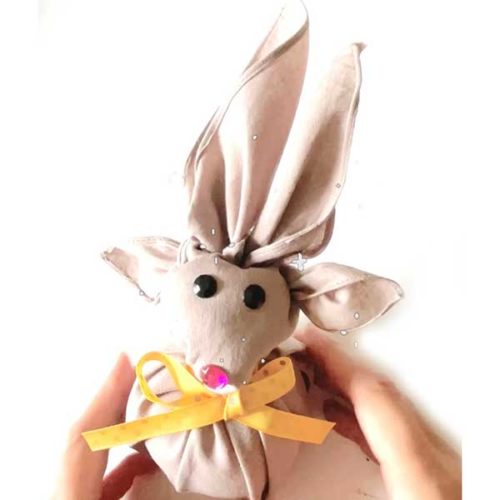
These animal craft wrappings are ideal for wrapping small gifts, especially round gifts such as jam jars and tins. (Use 14 “x14” size cloth, same as wrapping above)
References – DIY Easy and fun paper bird craft
- Bird craft for kids
- Paper plate birds

