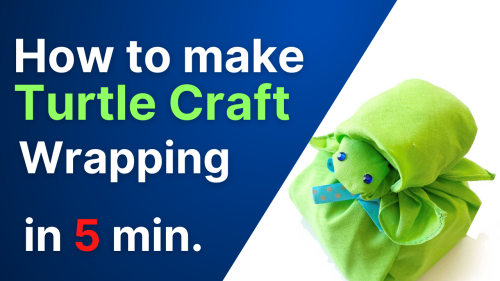
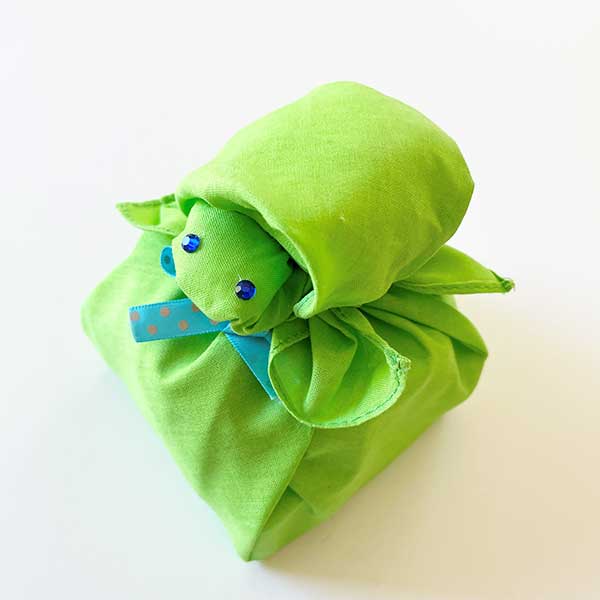
Wrap a gift in a square of fabric and make a cute little turtle !
It’s perfect for wrapping a small gift box!
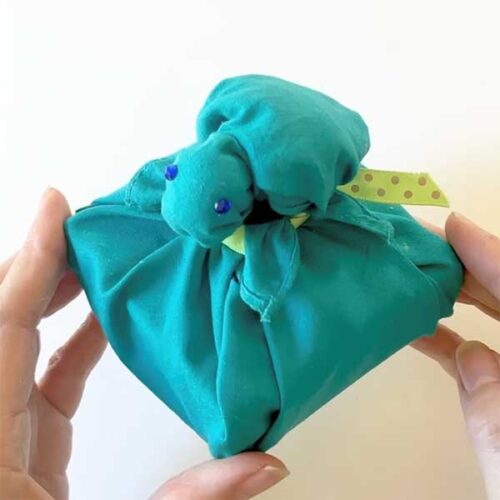
Table of Contents
How to make turtle craft gift wrapping
How to make turtle craft with fabric, no sewing
Total Time: 5 minutes
Step 1
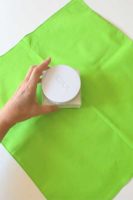
Spread out a square of cloth and place a gift in one corner of it, about 1 inch from the center.
Step 2

Grasp all four corners and tie together with the elastic.
Step 3

In order to make a face, place a cotton pad under one corner and wrap it with the corner.
Step 4

Twist the end and…
Step 5
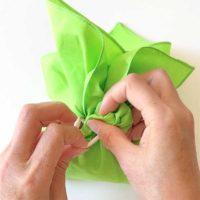
Tuck the end under the elastic. (The end of the corner becomes a leg).
Step 6

Leaving the longest corner, take one of the two corners and tuck the end under the elastic. Do the same with the other corner.
Step 7
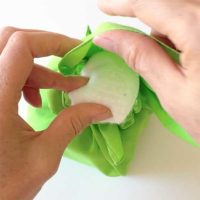
In order to make a tortoise shell, take a longest corner and place a few cotton pads under it. Wrap it with the longest corner.
Step 8
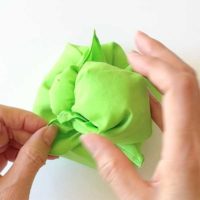
Tuck the end into the elastic.
Step 9
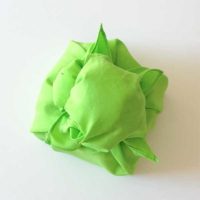
Adjust the legs slightly out of alignment so that the four legs are evenly positioned.
Step 10
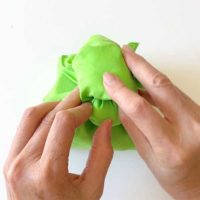
Press and stretch the top and sides of the shell to shape it.
Step 11
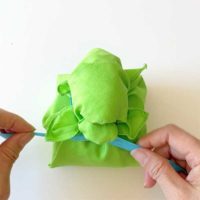
Tie a ribbon under the feet. (Tying it makes the turtle look like it is floating).
Step 12
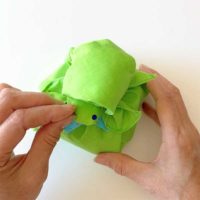
Place stickers on the eyes and your turtle craft is done!
Supply:
- N/A
Tools:
- N/A
Materials: Square piece of fabric Hair elastic Ribbon Black stickers for eyes (rhinestone stickers, googly eyes, etc.) -A few cotton pads
Tips for making the turtle wrapping
Even if you place the gift in the center of the cloth, the length of the corners tends to be uneven when you wrap it. After wrapping the gift and before starting to make the face, it is easier to choose in advance which corners you want for each of the face, feet, and shell (=the ongest one).
Other craft gift wrapping designs
